How to Make an Emergency Makeup Bag
When you leave your house in the morning, your makeup probably looks perfect. Over the course of a day, though, your foundation may fade, your eyeliner can smear, and your lip color will wear off. Having an emergency makeup bag means you can touch up your makeup on the go -- or take your look from day to night. The key to making an emergency makeup bag is choosing the right bag and focusing on essential items so you don't overfill it.Steps
Part 1Choosing a Bag
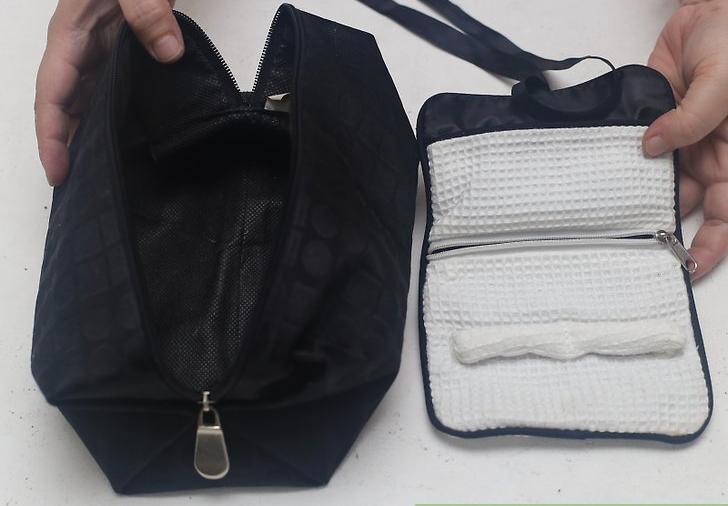 1Make sure that the size is right. When you choose a makeup bag, it’s important to choose one that’s large enough to hold all of your items. However, you don’t want it to be too big or it may not fit in your purse, backpack, or other bag. Look for a makeup bag that’s just large enough to hold all of your essentials.[1]
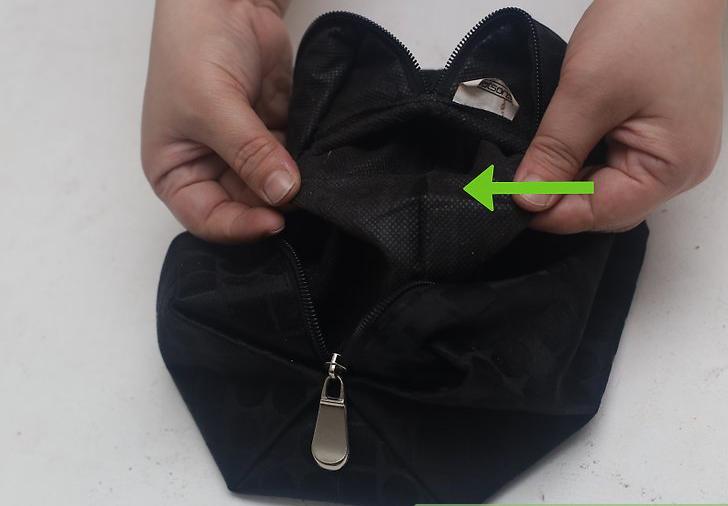 2Opt for a bag with washable lining. No matter how careful you are with your makeup, chances are that some of it is going to spill, leak, or stain the inside of the bag. Look for a bag with a washable lining, so you can easily clean it if gets dirty.[2]
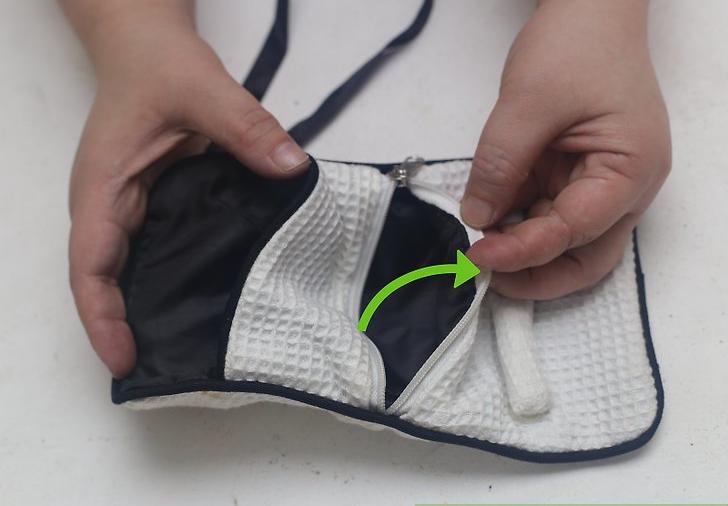 3Look for a bag with multiple compartments. In a full makeup bag, it’s easy to lose track of items. Opting for a bag that has multiple compartments allows you to separate your makeup products so you can find what you’re looking for more quickly. For example, you might keep lip products in one pocket and eye products in another.[3]
Part 2Picking Your Face and Lip Products
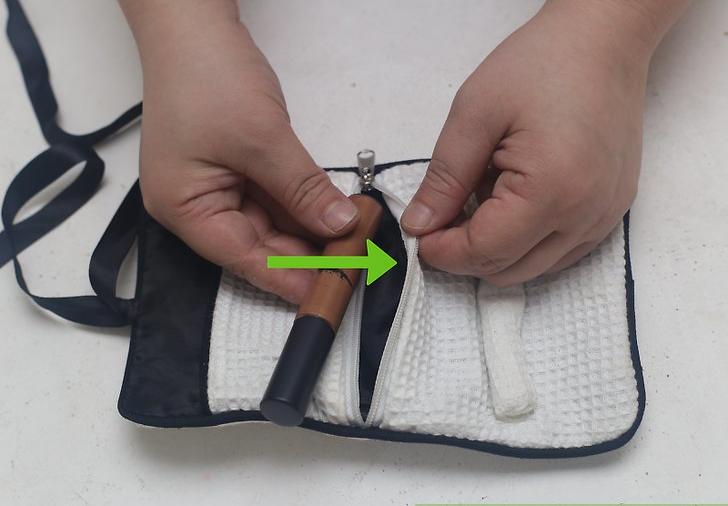 1Add a concealer. A bottle of foundation would take up too much space in an emergency makeup bag, but you should carry a concealer. It’s perfect for touchups throughout the day if your foundation starts to fade or for cleaning up any makeup smudges under the eyes.[4]
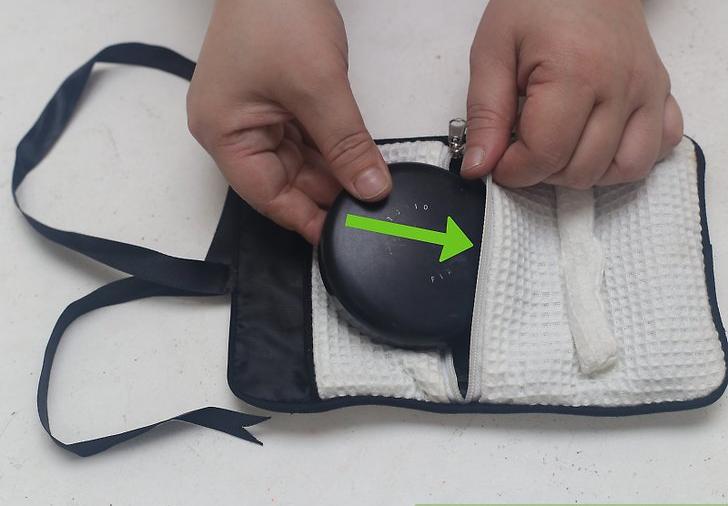 2Throw in a powder. Throughout the day, it’s normal for your skin to get a little oily. Having powder in your emergency bag allows you to touch up your makeup so you don’t look too shiny. Add a pressed or loose powder, especially if you have oily skin.[5]
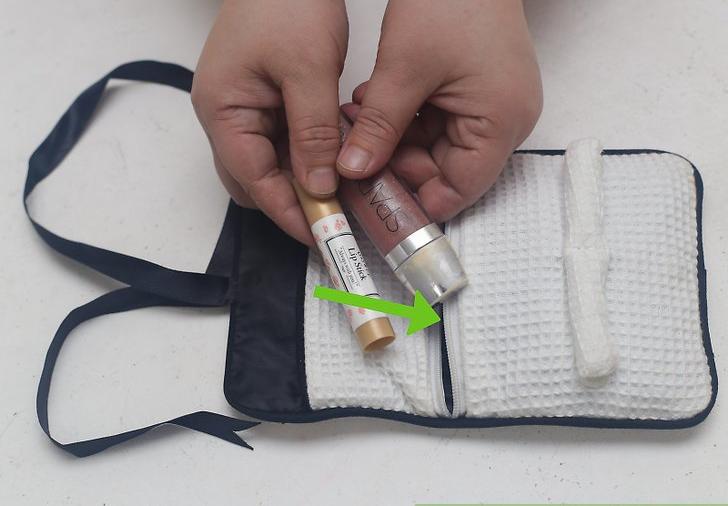 3Mix in a neutral lipstick and a clear lip balm. There’s no need to carry a bunch of lipsticks and glosses in your emergency bag. Include one neutral colored lipstick that will go with other makeup in a variety of colors, and a clear lip balm for moisturizing your lips and adding shine when needed.[6]
Part 3Selecting Eye Products
 1Include a mascara. If you go out after school or work on a regular basis, having a mascara in your emergency makeup bag comes in handy. Adding another coat can help freshen up mascara that’s flaked off or make your lashes look thicker for a night out.[7]
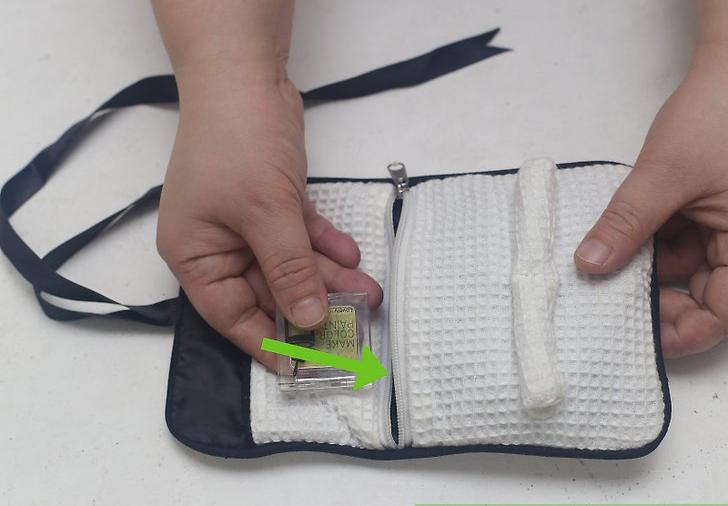 2Toss in a smoky eyeshadow duo or quad. For transitioning a daytime eye makeup look to a evening out look, add an eyeshadow duo or quad with dark, dramatic shades. That will allow you to create a smoky eye that’s more appropriate for an evening out.[8]
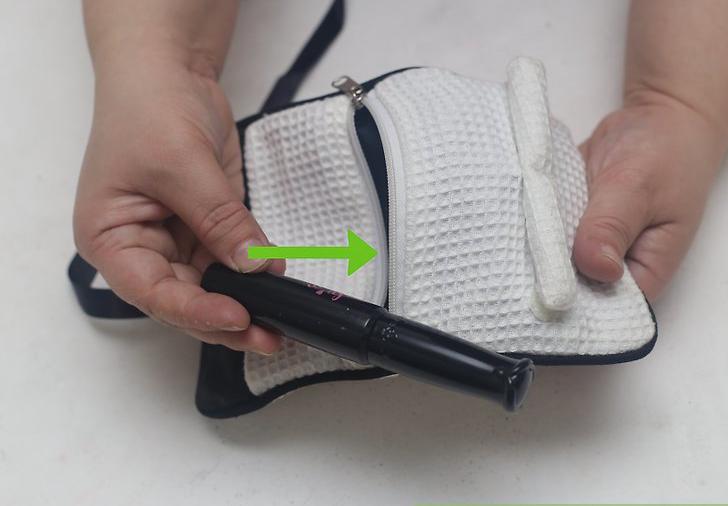
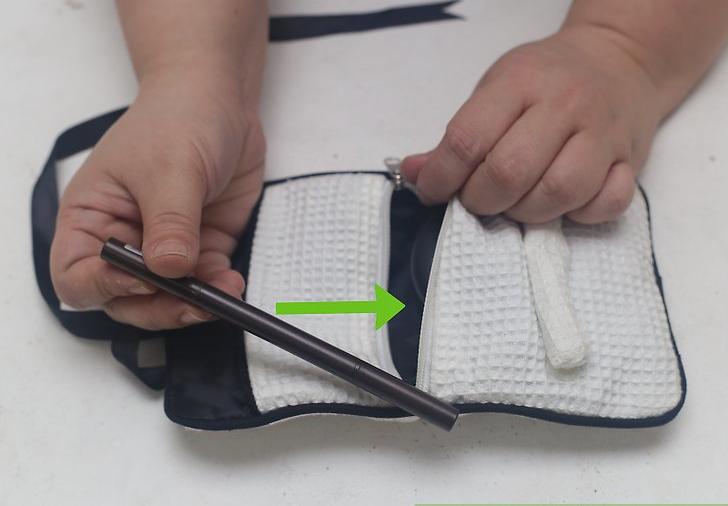 3Add a black liner. Eyeliner is another makeup item that tends to fade as the day goes on, and you may want to touch up. A black eyeliner is the best option for your emergency makeup bag because it will coordinate with virtually any eye makeup look.[9]
Part 4Rounding Out Your Makeup Bag
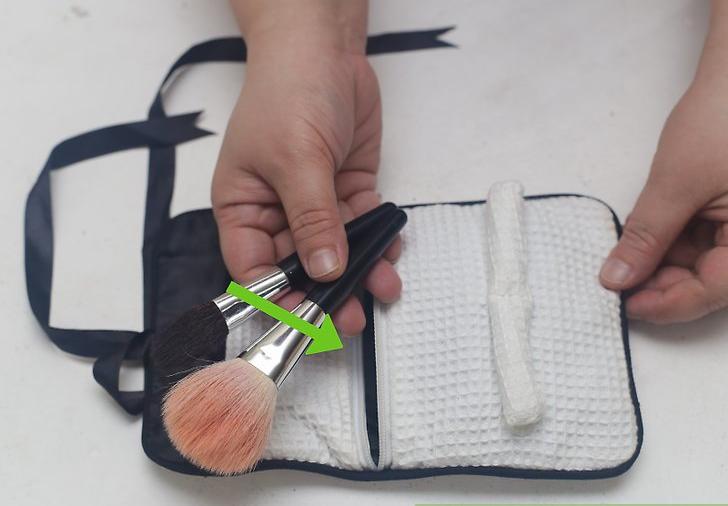 1Throw in a set of travel-size makeup brushes. While many makeup items come with applicators, they’re often not ideal for a precise makeup application. Consider adding a travel-size set of makeup brushes to your bag. They’re smaller so they won’t take up as much space as full-size brushes.[10]
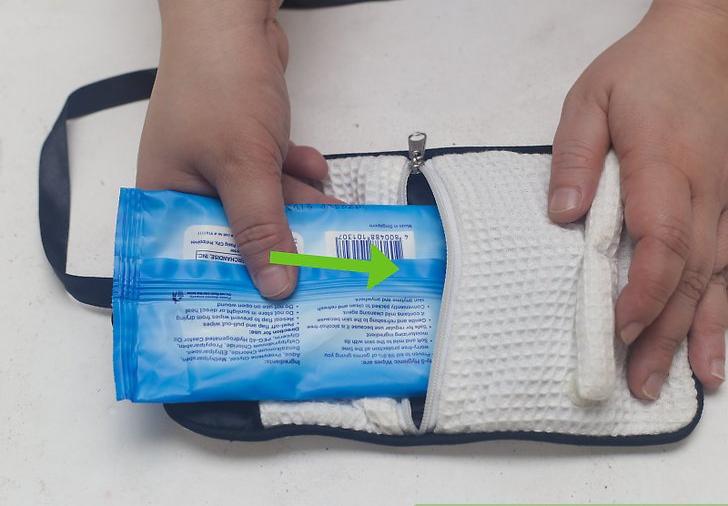 2Add some makeup wipes and cotton swabs. If your makeup runs or smears during the day, you may need to clean it up. Include a small package of makeup removing wipes and cotton swabs that will allow you to easily get rid of any smudges or smears. You can also remove all of your makeup if necessary.[11]
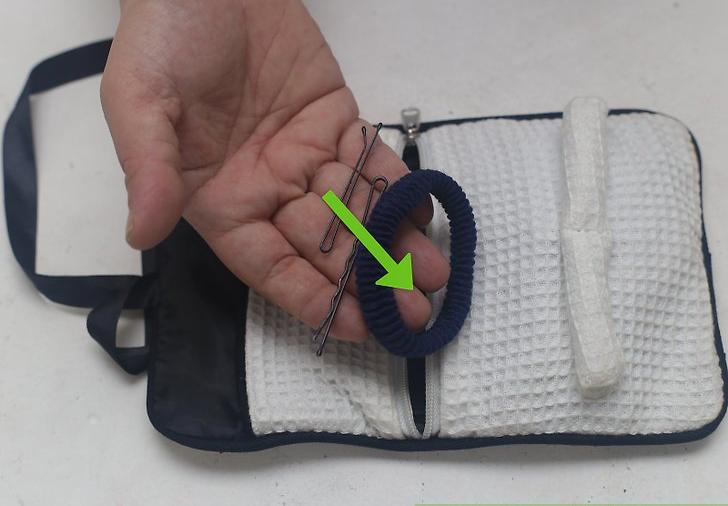 3Throw in some hair ties and bobby pins. In addition to makeup, it’s a good idea to have some hair ties or bobby pins in your emergency bag. You can fix your hair if it gets messy or pin it into an updo for an evening out if necessary.[12]
