How to Photograph Handbags Effectively
Handbags may seem straightforward to photograph, but there are several things you can do to make your pictures look more professional. Spend time setting up the handbag so it's free from dust or smudges. Polish the hardware so it shines. Then program your camera and place it on a tripod. Take photos from a variety of angles and turn the bag so you can show several sides. Remember to include close ups of any unique features you want to highlight.Steps
1Styling the Handbag
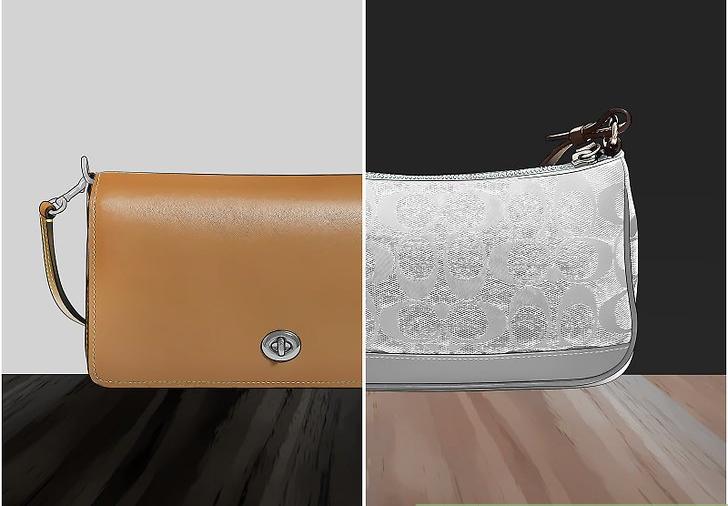 1Select a background for the bag. If you're photographing the bag for commercial reasons, keep the background simple. Set the bag on a white or black tabletop and place a white or black background behind it. For example, if the bag is white, choose a plain black background so the bag will really pop.[1]
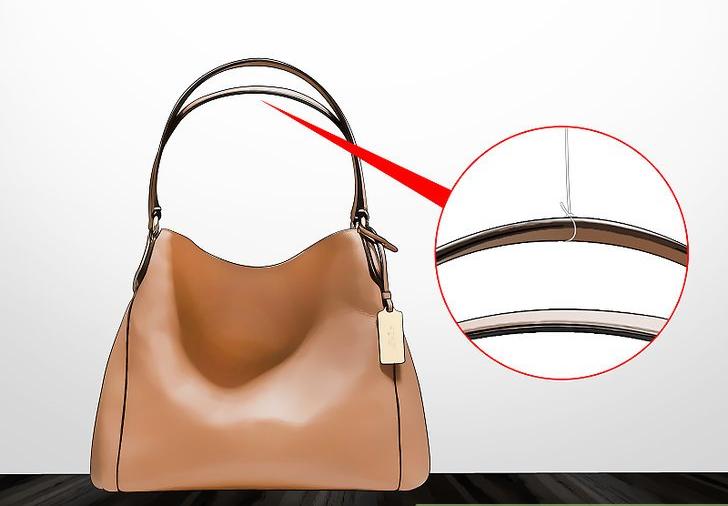 2Use clear nylon wire to keep the handles up. Once you've set the handbag on a tabletop or flat surface, thread clear nylon wire or clear fishing line through the handles. Secure the wire or line to your background to prevent the handles from falling down.[2]
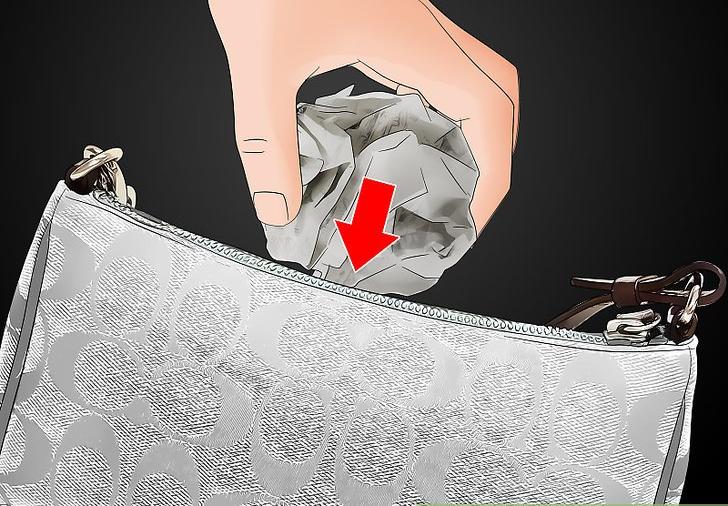 3Fill the bag with tissue paper or stuffing if it's slouchy. If you're photographing a bag that doesn't have a lot of structure, you'll have to stuff it with some tissue paper to fill out its shape. The stuffing will also prevent the bag from slumping over which will make it tricky to photograph.[3]
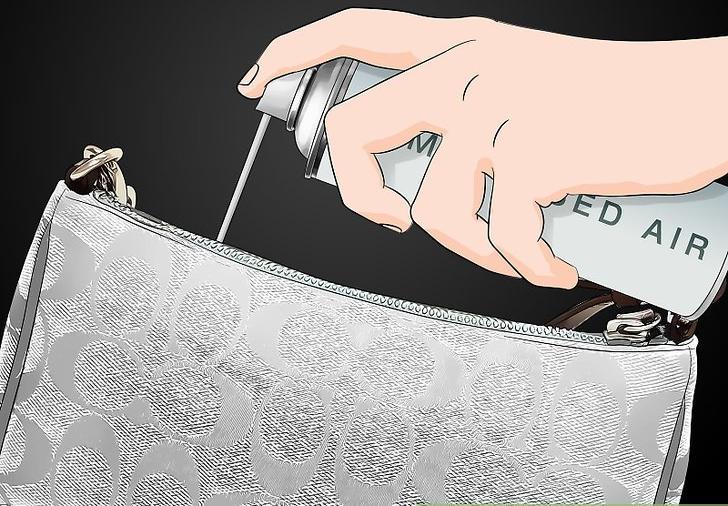 4Spray the bag with compressed air to remove dust. Because most cameras will capture even the tiniest details, the bag needs to be completely clean and free from dust, hairs, or fluff. Use a can of compressed air to spray away any debris that could show up on the photograph.[4]
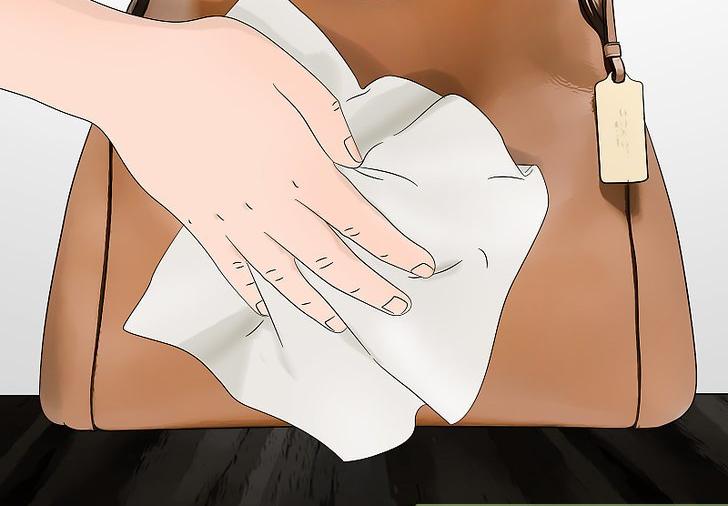 5Wipe down hardware with a cloth to remove smudges. Take a soft microfiber cloth and gently rub metallic hardware such as buttons, toggles, zippers, or hooks. This will remove smudges or fingerprints that would show up in the pictures.
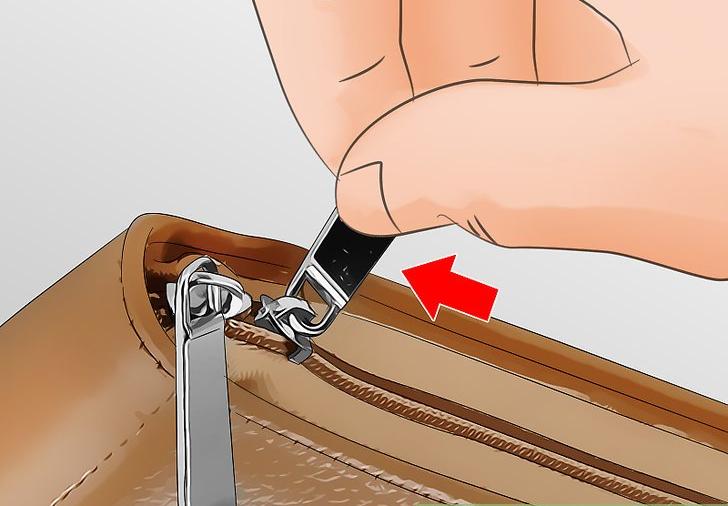 6Close zippers and secure any tags with double-sided tape. Snap any snaps shut, button any buttons, and close any zippers on the bag. Stick a piece of double-sided tape on the back of any tassels or tags that you want to put in place. Then press the tassel or tag against the bag so it's secured with the tape.[5]
2Selecting Camera Settings and Lighting
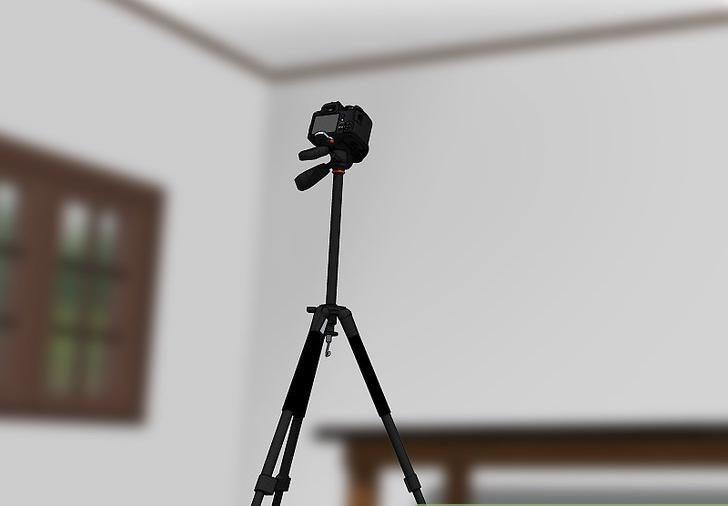 1Set up a tripod. Pull the legs of the tripod down until the top of the tripod is level with the tabletop. Tighten the legs of the tripod so they're secure and attach your camera to the top of the tripod.[6]
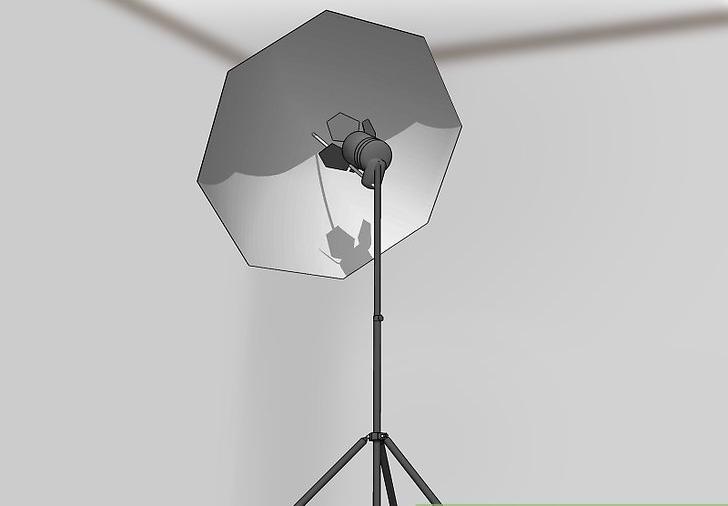 2Choose natural or studio lighting. Decide if you'd like to use natural light coming from a nearby window for a soft look or if you want studio lighting which can be easier to control. Set up fluorescent or cool LED bulbs so the light fills the space around the bag without making harsh shadows.[7]
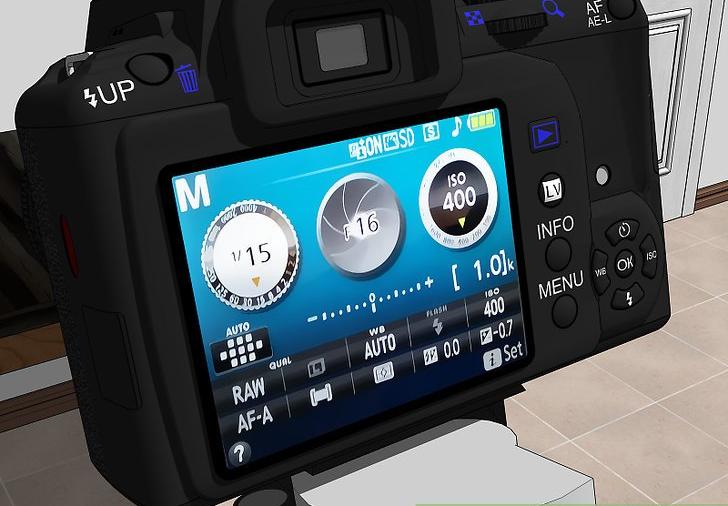 3Select your camera settings. You can use the automatic or manual setting to adjust a few variables such as shutter speed and aperture. Since the bag won't be moving as you photograph it, prioritize the aperture setting. [8]
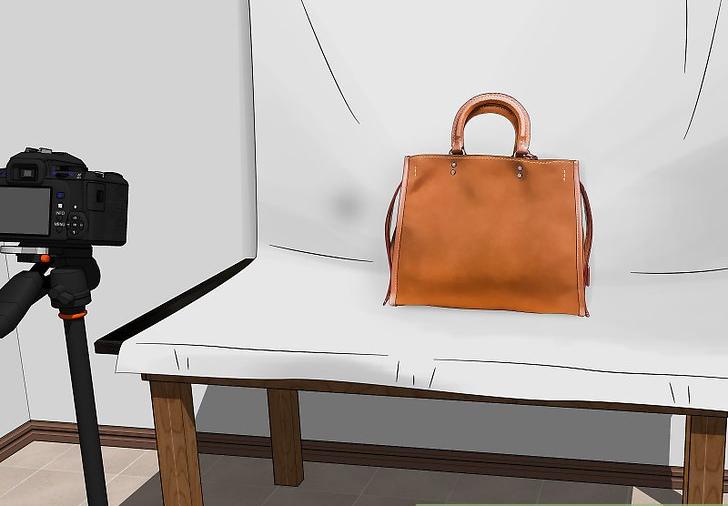 4Use your phone's camera to shoot the handbag. Turn the grid function on your phone's camera which will make lining up the shot easier. Select the highest image quality that's available and decide if you need to use the zoom feature or just move the tripod closer to the handbag. Once you've taken a few photos, you may need to adjust these settings again.[9]
3Shooting from a Variety of Angles
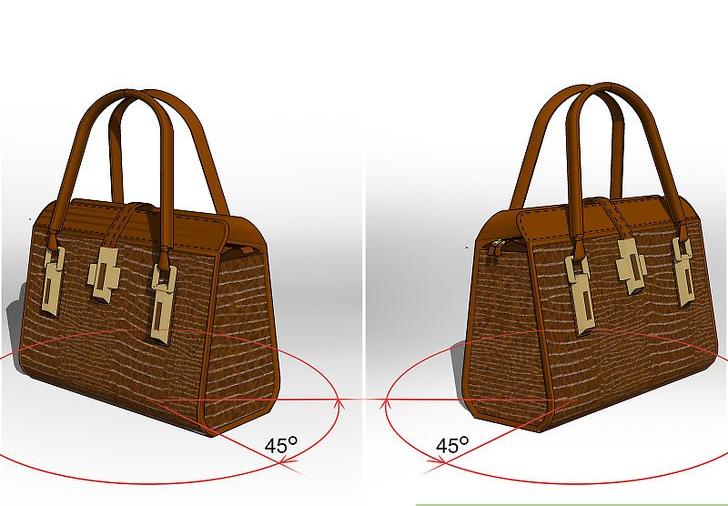 1Turn the handbag to a 3/4 angle. Once you've selected a background and styled your bag, turn the bag 45 degrees to the right or left. Then you can photograph the handbag so part of 1 side is visible. Consider turning the bag 45 degrees to the other direction so you can also show the other side of the bag.[10]
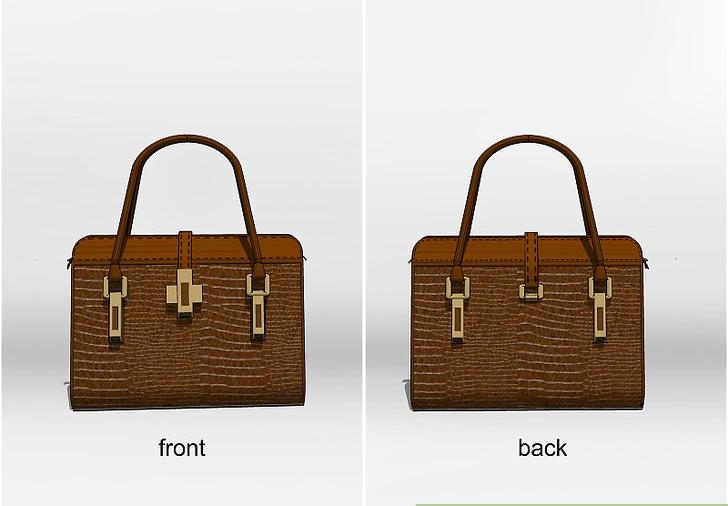 2Take straight on shots of the front and back. The bag should be sitting flat and not tilting forward or backward before you begin photographing. You may need to adjust the nylon wire so the handles are perfectly even. Photograph with the lens pointed directly at the handbag so it's at eye level. Then turn the bag and readjust the handles if necessary. Take a photograph of the back of the bag using a straight shot.[11]
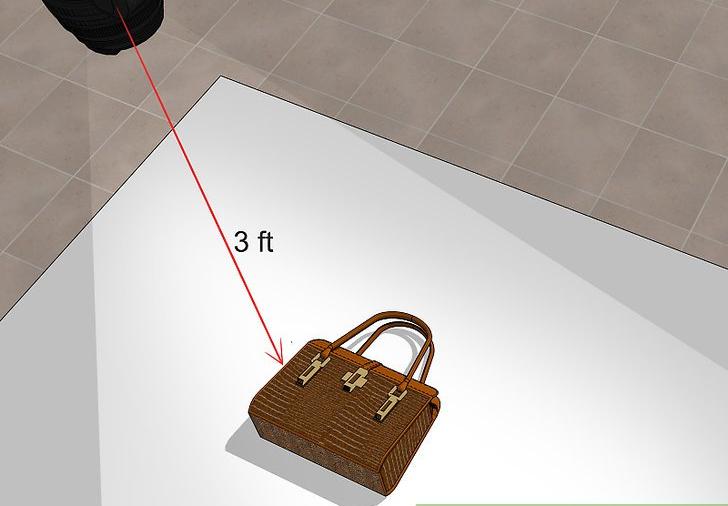 3Try a flat lay shot of the bag. If you're struggling to get the bag to stand up without tilting, you can always lay the handbag on your tabletop. Position the camera above the bag so you can shoot down. Depending on the size of the bag, you'll need to photograph straight down with a variety of distances.[12]
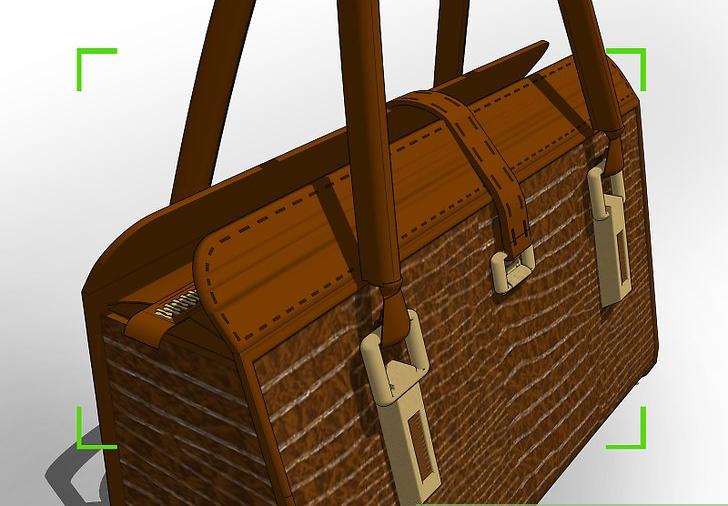 4Take close-up shots of the handbag details. Once you've photographed the front and back of the bag, decide if you there are unique details you'd like to shoot. Move closer to the bag to get an up-close shot of the details. For example, if the bag has a unique toggle or tassel, move closer so you can bring out the level of detail.
