How to Make a Paper Handbag
Paper handbag designs can be made from folding, cutting or even weaving. In this article, you'll find a way to make an origami handbag that can be used as a toy, for display or to add to a craft project, and a scrapbook paper motif suitable for card making.
Steps
1Origami handbag
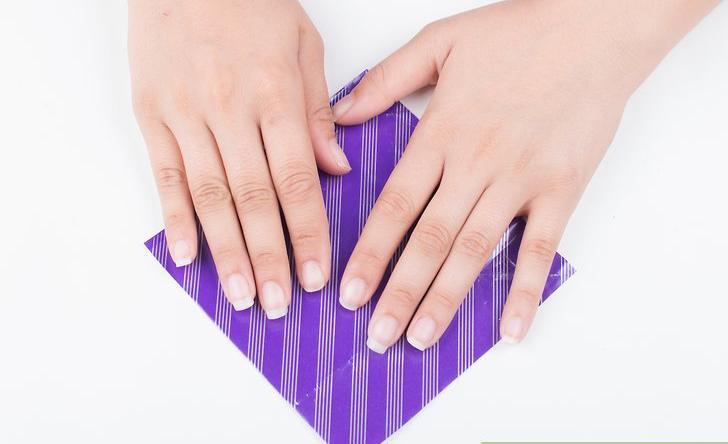 1Choose a piece of colored origami paper. Lay it out flat in readiness for folding.
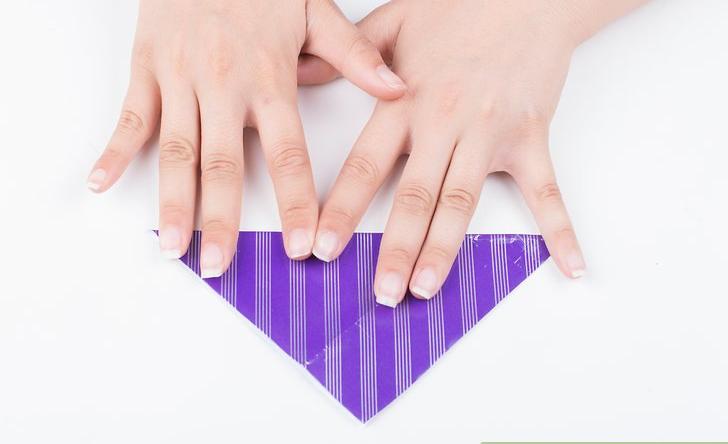 2Fold the paper in half on the horizontal axis. This will form a triangle.
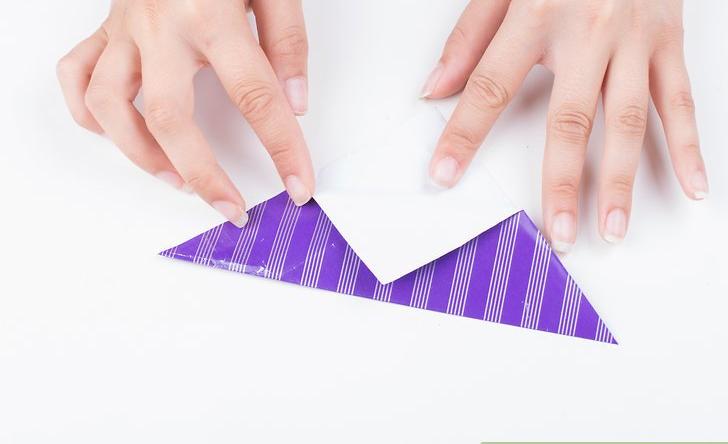 3Fold the top flap of the triangle. Make a crease.
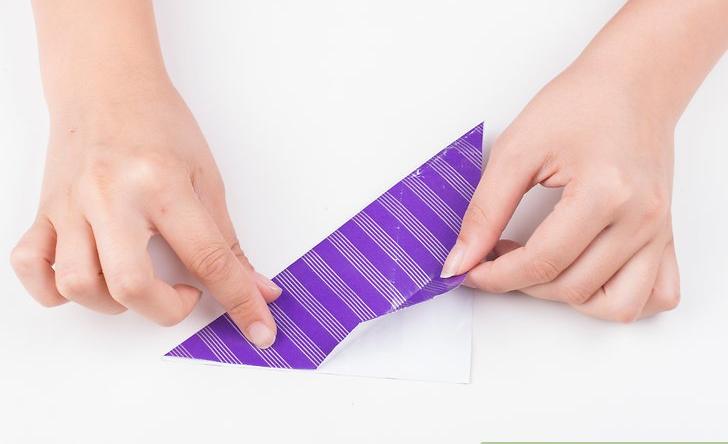 4Unfold the crease.
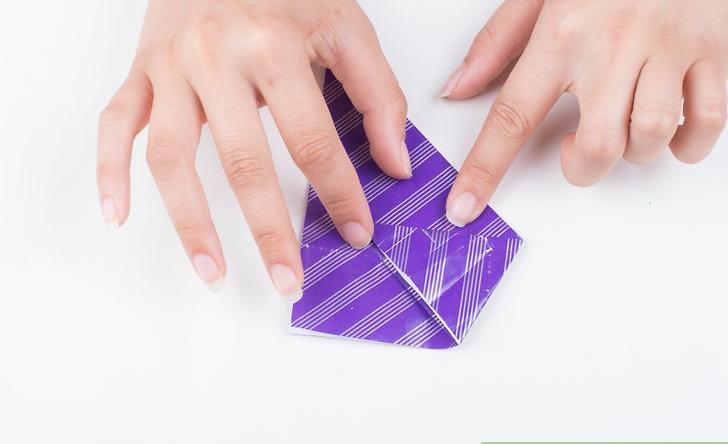 5With left side, fold the tip to the crease.
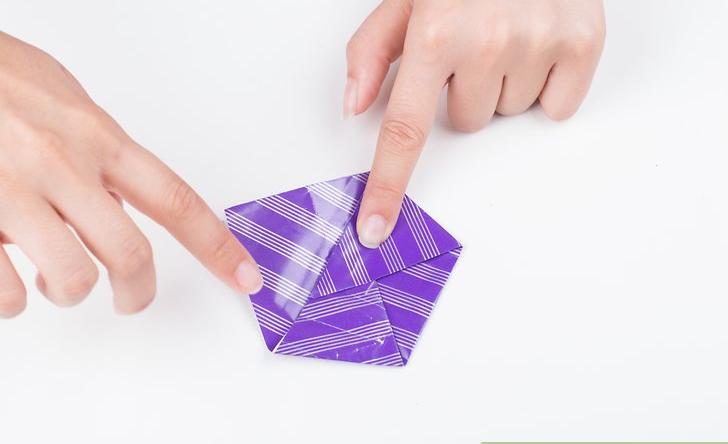 6Repeat with the right side.
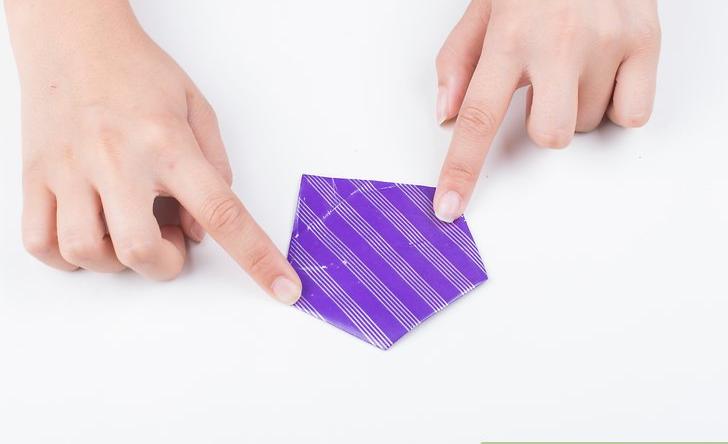 7Flip the paper over, onto the back.
 8Fold in half. Bring the right side to the left.
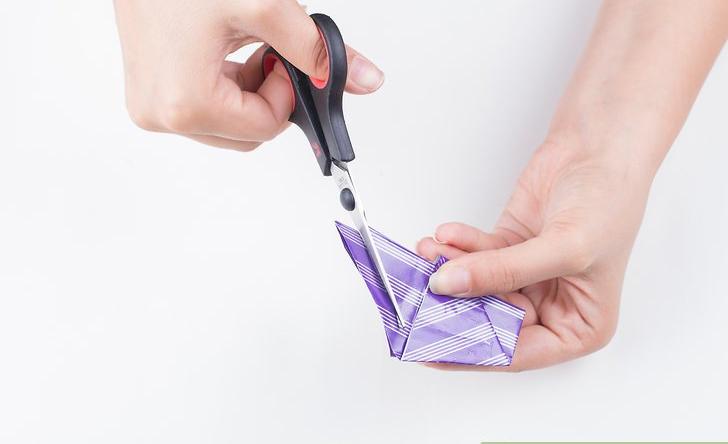 9Make a slanted cut on top of the tote. This will form the handle.
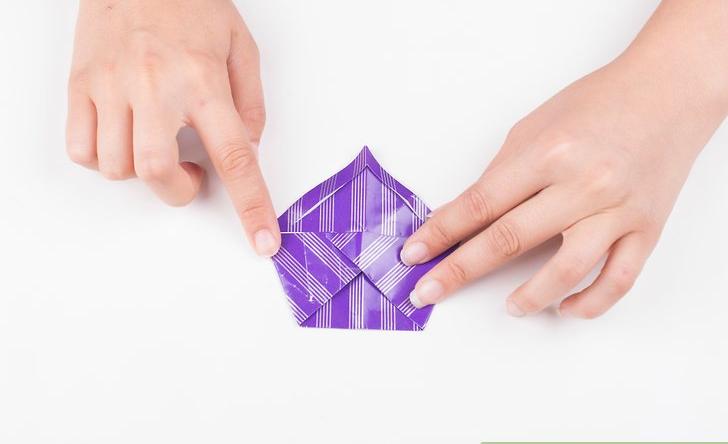 10Unfold the paper.
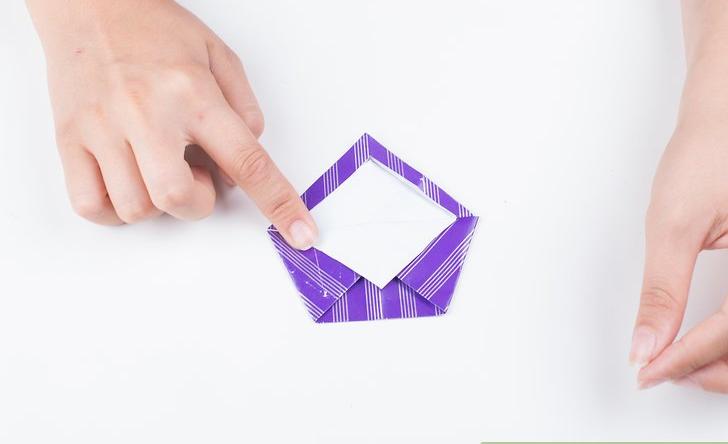 11Fold down the top part of the paper, or the handle.
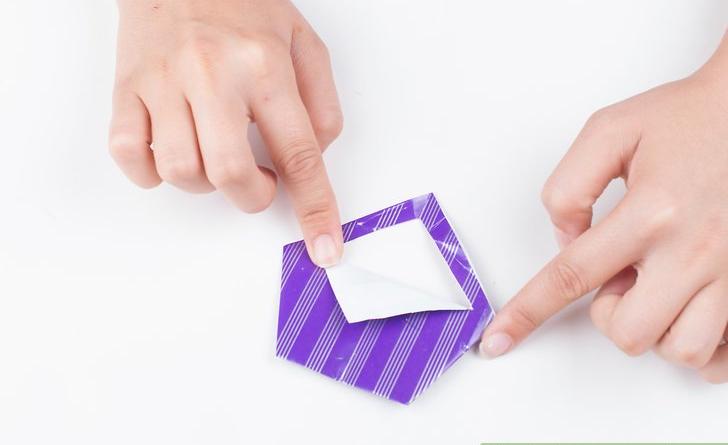 12Flip the bag over fold the top part again.
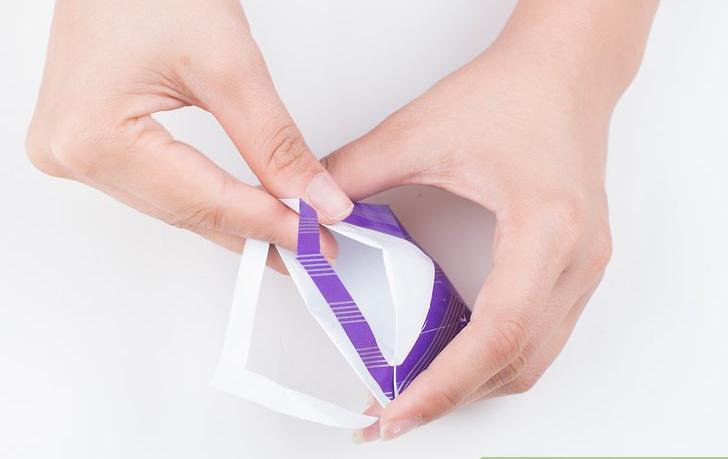 13Push it out.
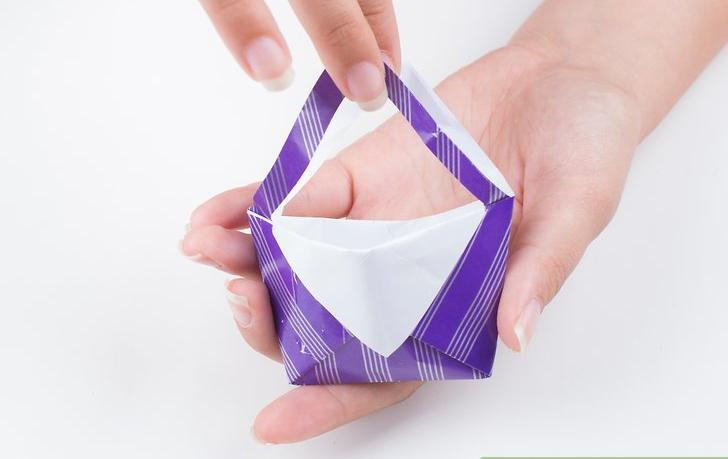 14Finished.
2Scrapbook paper handbag for cards
 1Choose a card. Once you have decided on the card colors, you'll be able to choose the color of the handbag or handbags that you're planning on adding to the card.
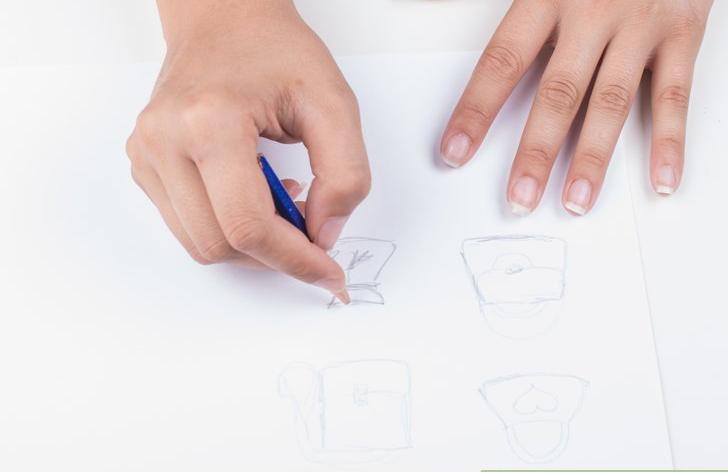 2Decide on the design of the handbag. You have various options here, either the suggested ones, or your own design. The important thing is to not overdo it, or the card will look crowded. Some suggested designs include:
- One single handbag centered on the card front.
- A pair of handbags side by side on the card front.
- A handbag in each corner of the card front.
- A trio of handbags, overlapping each other on the card front.
 3Decide what other features will be on the card. This might include a ribbon, a border, a simple line in another color, etc.
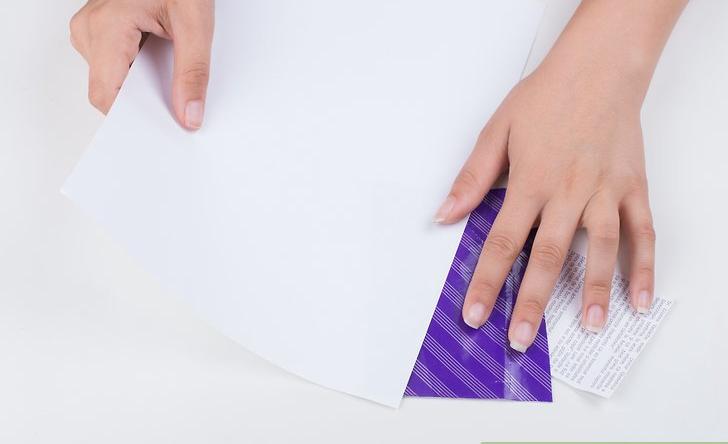 4Decide what to make the bags from. This might be plain cardstock, colored cardstock, patterned cardstock, corrugated card, etc. Or, you could layer different colors of paper.
- This is a simple version; you can vary the shapes and make it fancier, as preferred.
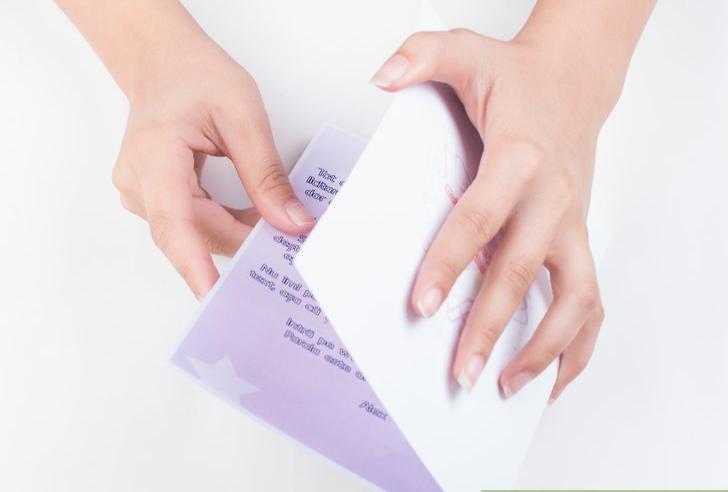
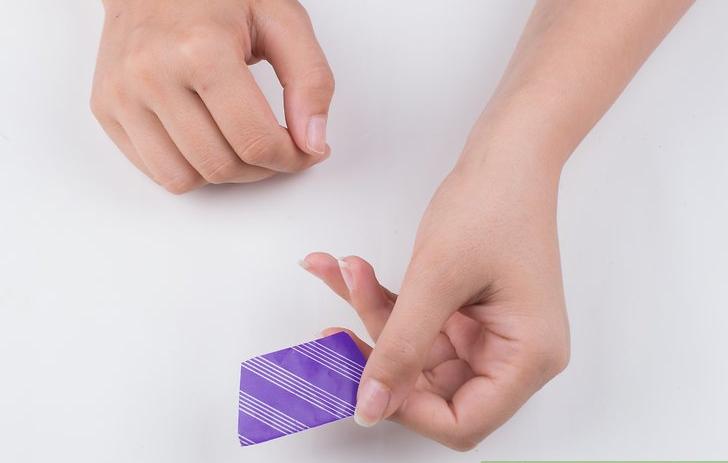 5Make the paper handbags. Start with a very simple design consisting of a rectangle. Draw the rectangle on the chosen cardstock or paper, then cut it out.
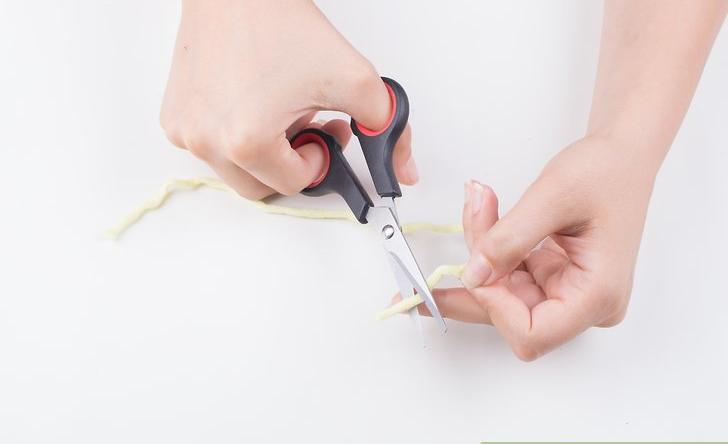 6Make the handles. Cut out a small length of twine, cord or other item. Glue this in an arch format the what you choose as the top end of the handbag.
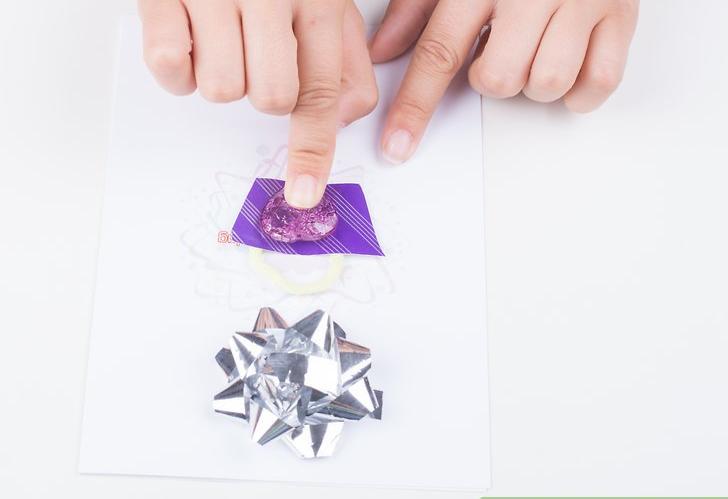 7Add decorations to the handbag. This step is optional, but you can improve the look with all sort of things, including stick-on gems, glitter, drawings, a hand-drawn pattern, ribbon, bows, etc.
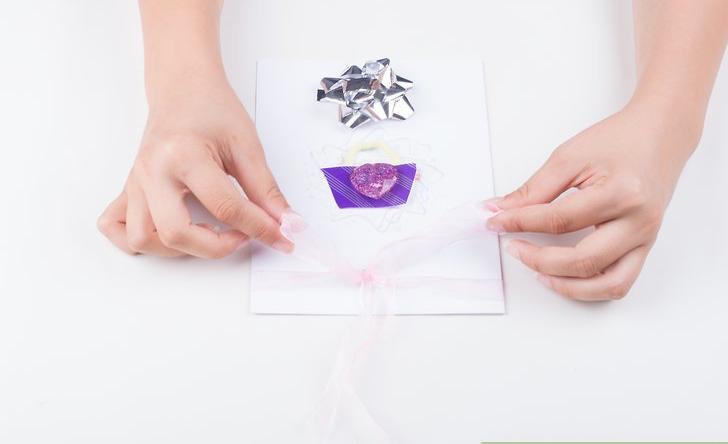 8Glue the finished handbag or handbags to the card. Use the design formation you've already chosen and glue in place. Add associated decorations at the same time.
- Allow to dry before writing in the card.
 9Use the card as needed. Either write a message in it and send it to a friend, add to a gift or give a box of your homemade handbag cards to a friend who loves handbags.
