How to Bag Groceries
Bagging groceries is an essential skill to have whether you’re a cashier or a shopper. Knowing what kind of bags you want to use, how to bag heavy items, soft food, glass, and chemicals will allow you to get your groceries home in one piece. If you’re sick of squashed loaves of bread, broken eggs, or leaking liquids, then mastering the art of bagging groceries will put an end to this.Steps
Part 1Choosing a Grocery Bag
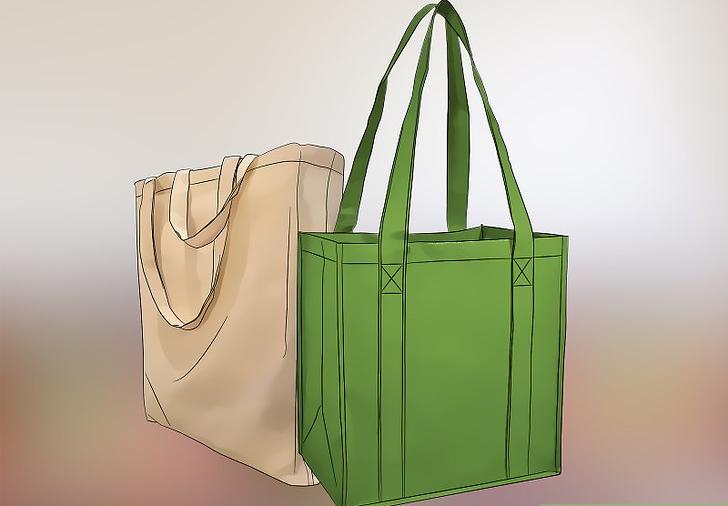 1Choose a reusable shopping bag for sturdiness. Reusable bags are made of fabric or recyclable plastic. They are more durable than plastic and paper bags, and they have more space than traditional grocery bags. Many stores are discontinuing the use of disposable bags, and cities around the world are banning plastic bags to reduce the number in landfills.[1]
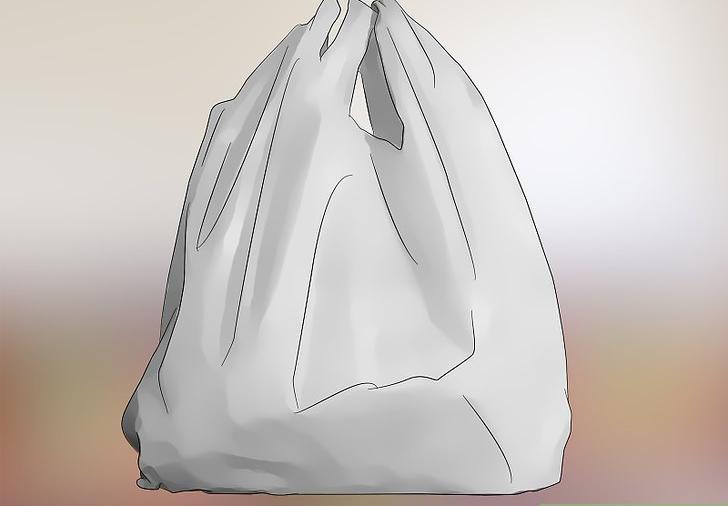 2Use plastic grocery bags for their convenience. Plastic bags are still the most convenient bags to use when grocery shopping, because customers get them for free most of the time. They also take up less space than paper bags.[3]
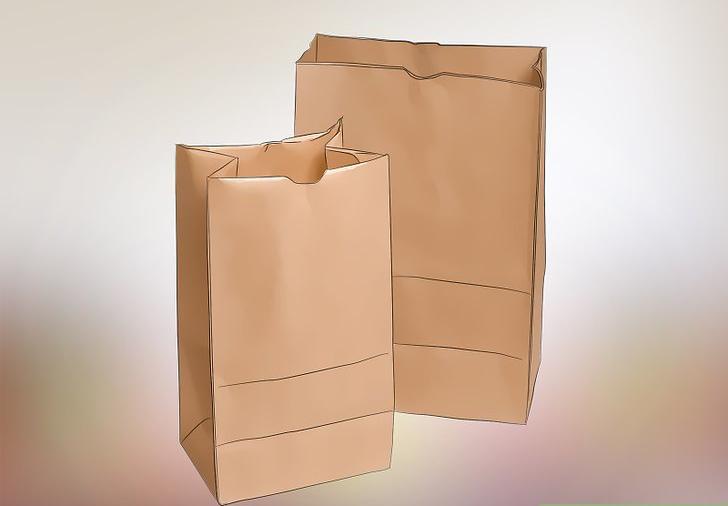 3Use a paper bag for its structure when bagging groceries. Paper bags have a flat bottom that makes layering groceries by weight easier. They’re made to easily stack items according to size and weight, because you can put heavier cans on the bottom and the fragile food, such as eggs, on top.[4]
Part 2Sorting the Items
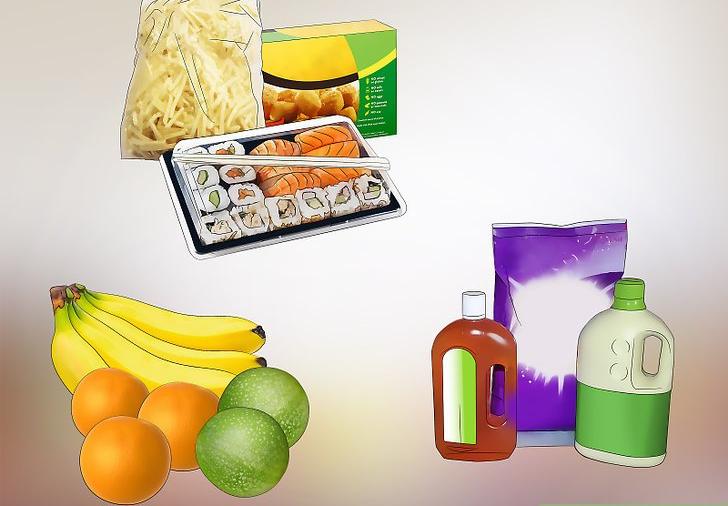 1Group like items together. It may help to separate bags into 4 groups such as general pantry items, meats, frozen or refrigerated items, and produce. Bag fruits and vegetables with each other and put freezer items together in separate bags. If possible, pre-sort the items as they come down the belt so you will have a better idea of how many bags to take out for each group of items.[5]
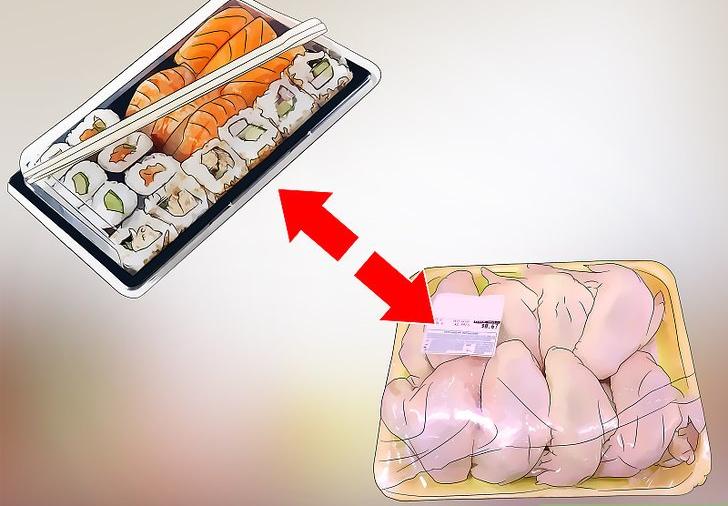 2Separate raw food from the rest to prevent contamination. Place raw meats in separate plastic bags, as they have the tendency to leak. Meat and fresh pasta should be kept separate from ready-to-eat foods such as nuts, drinks, produce, cheese, sushi, and bakery food.[7]
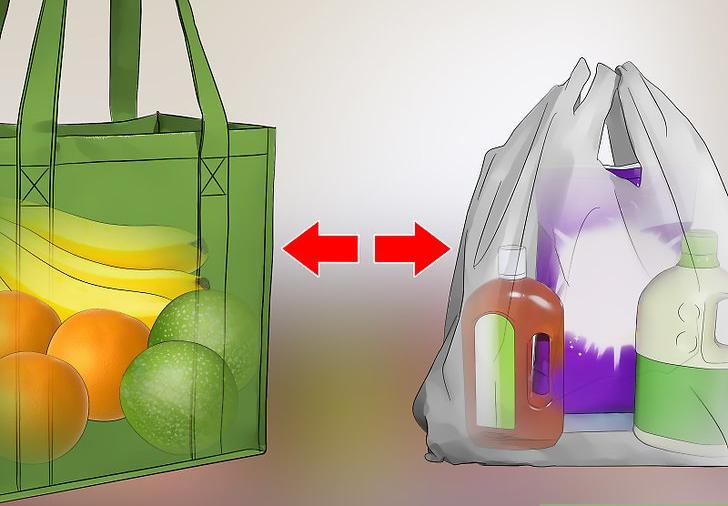 3Bag chemicals separately from food. This will protect the rest of your groceries from contamination with soap, cleaner, or batteries. Other chemicals you don’t want near food are deodorant, shampoo, room freshener sprays, and bleach. You could get sick from eating vegetables that were covered in detergent or bleach, so keep your food items in separate bags.[9]
Part 3Packing Groceries Properly
 1Distribute heavy items among several bags. Avoid putting lots of jars or cans in a single bag, as it may tear or be too heavy to carry. Aim to put some heavy and light items in each bag.[10]
 2Pack lighter items on top of heavier items. A good bagging foundation usually has shorter cans in the bottom middle of the bag. Layer boxed food on top along the sides of the bag to create a wall.[12]
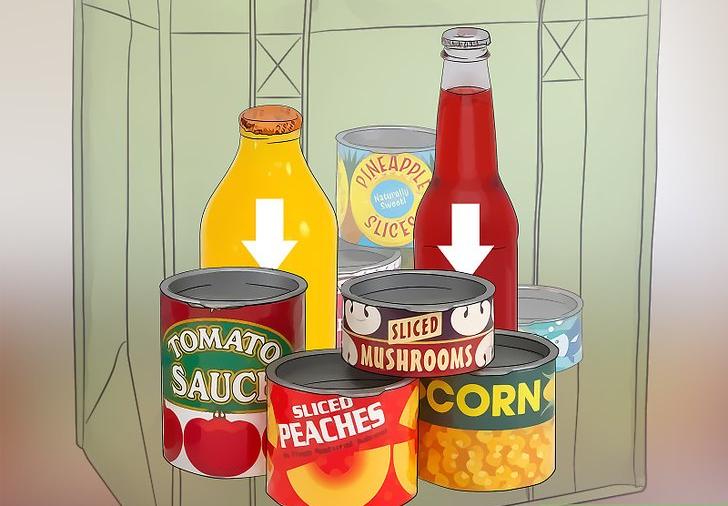 3Pack glass items in the middle of cans to prevent them from breaking. Placing glass bottles next to each other can damage them. The cans will support the glass, minimizing the chance for breakage.[14]
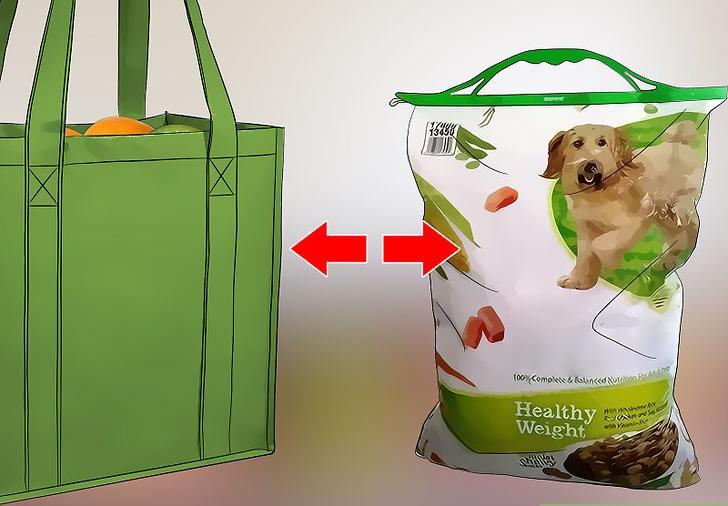 4Consider what can be left unpacked. Rolls of toilet paper, big sacks of dog food, or boxes of soda may not fit in bags. Most larger items can be carried out on their own, or with the addition of a quick and handy adhesive handle.[16]
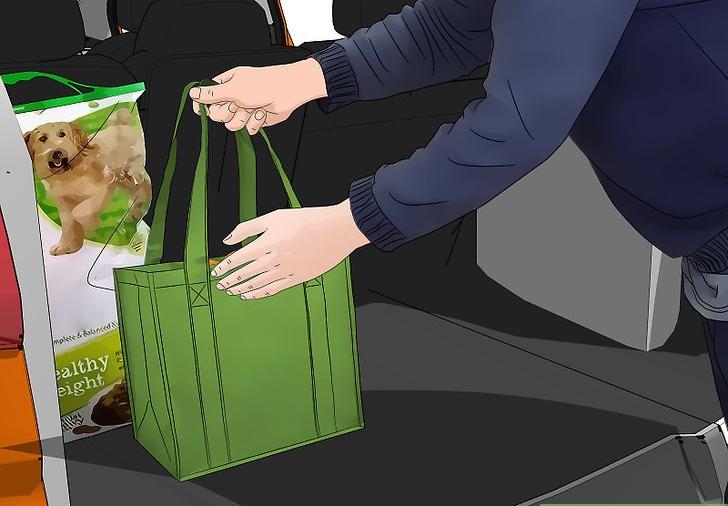 5Load the groceries in your car carefully. When you get to the car, observe the same packing rules you did for bagging. Put heavier bags on the bottom or around the sides. Bags containing more delicate items should go on top, and put supported items in the middle.


")
